Warhammer 40,000
Space Marine 2
Operations photography from the Battle Barge and the missions shot so far — Tyranid swarms, Thousand Sons, and the ship between deployments.
Hub
9 photos
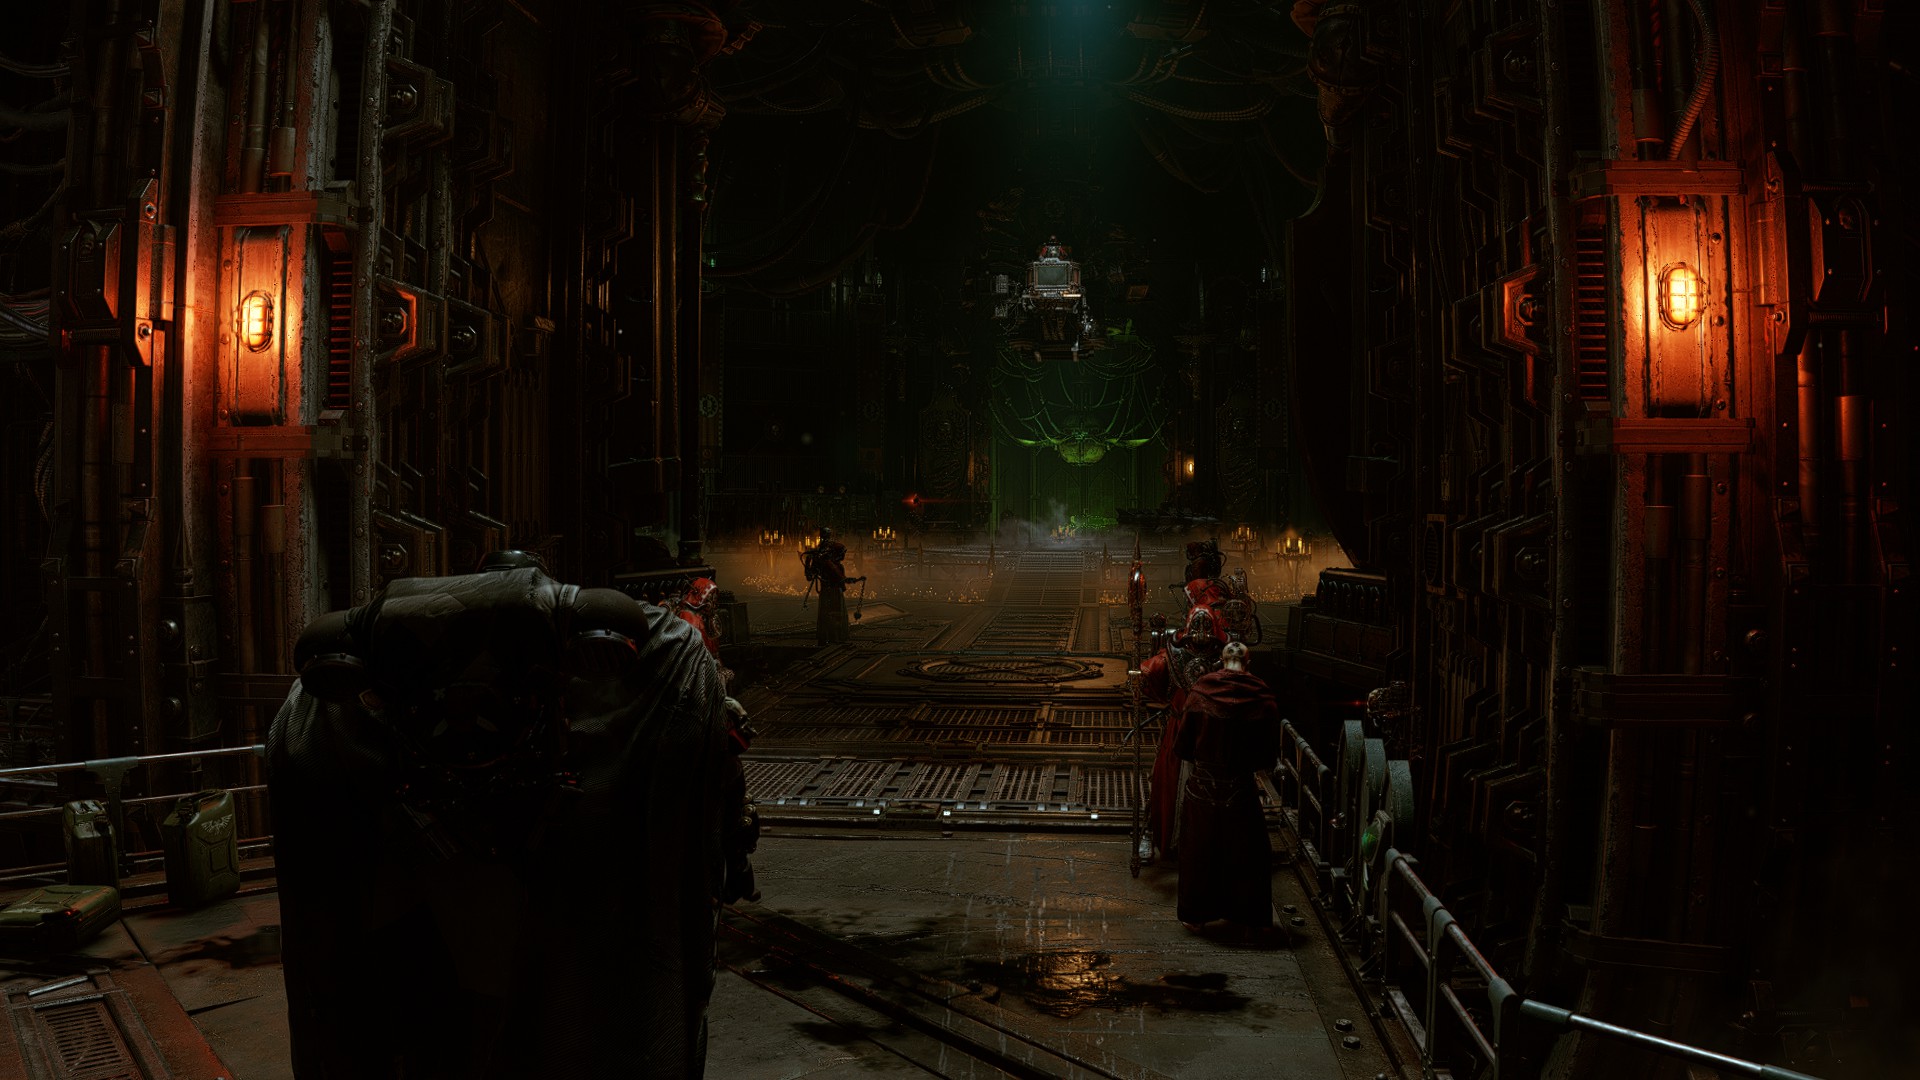
Battle Barge
Ultramarines battle barge
The fortress-monastery between Operations. Armory, launch bay, and the decks you walk before the next drop.
Gallery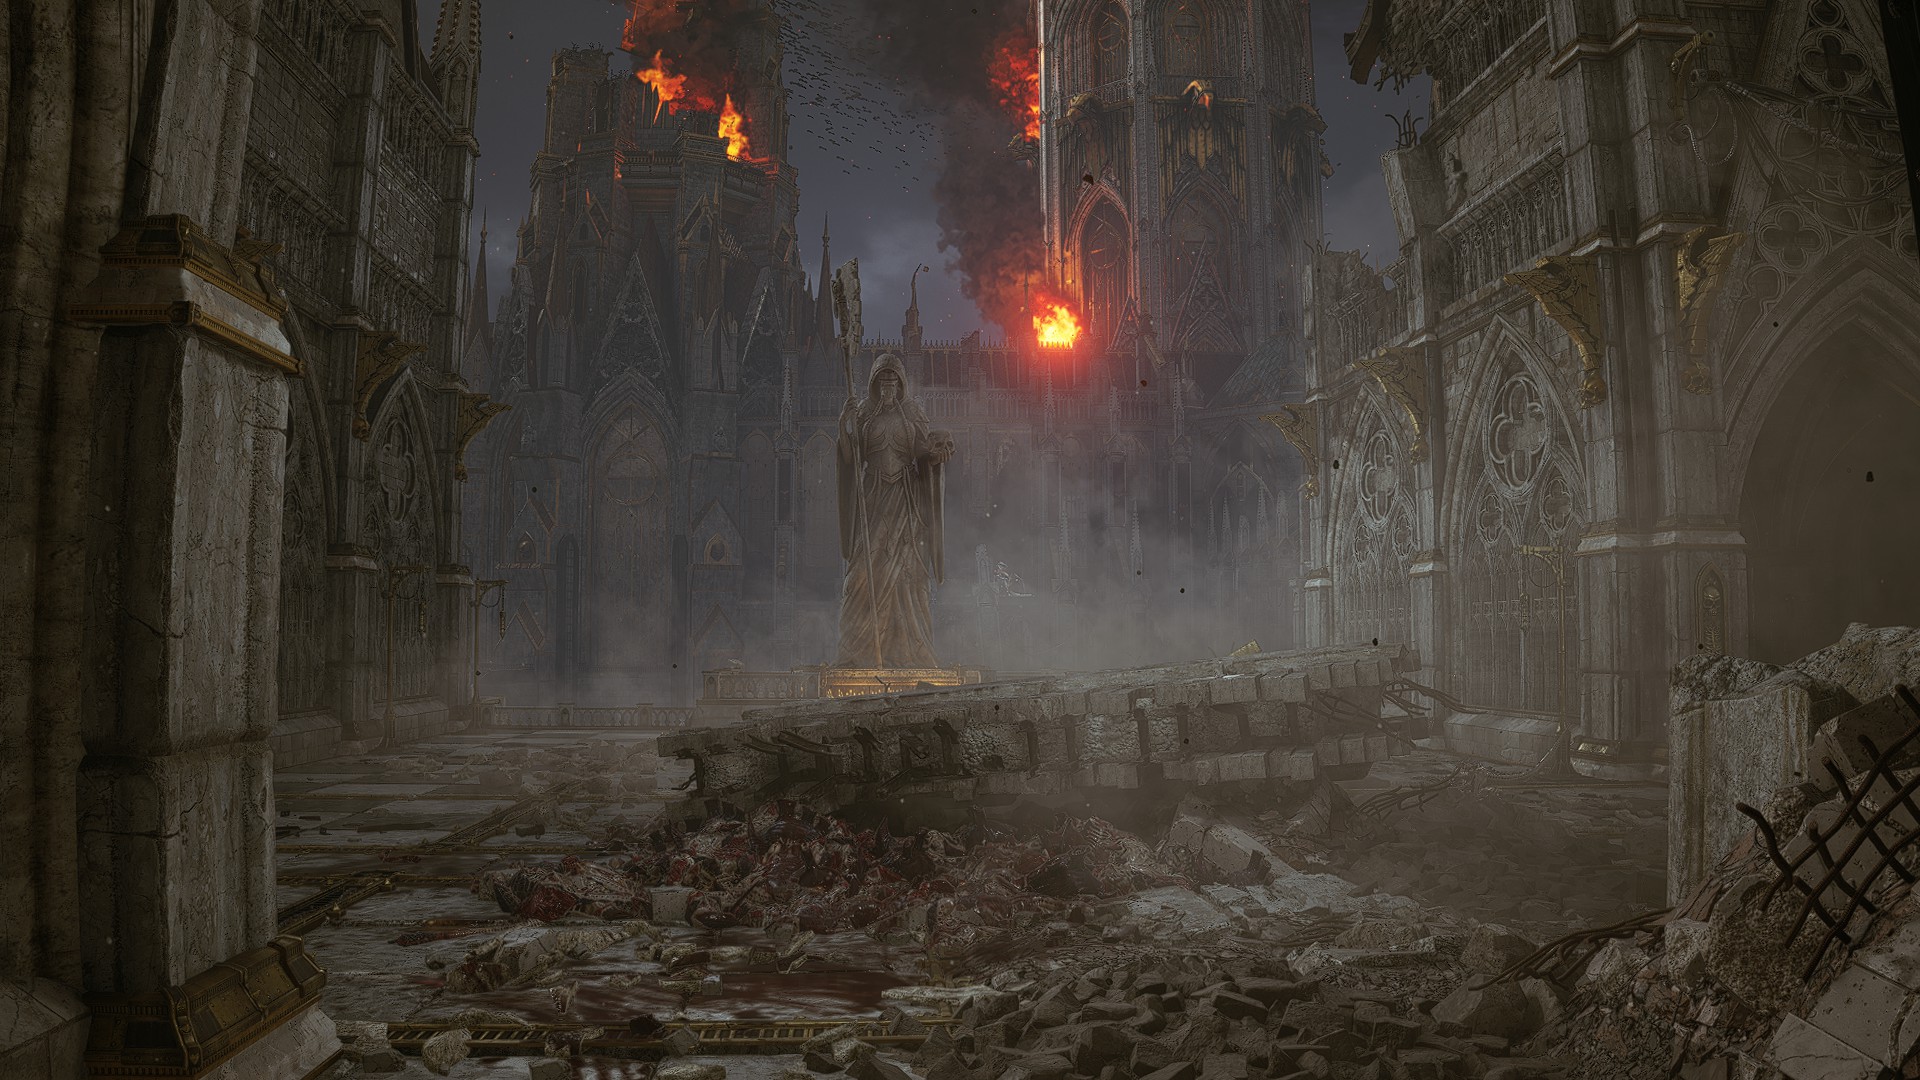
Operation
9 photos
Disruption
Avarax · Hive city
A hive-city defense that starts beside the Cadians and turns into a fight against the Thousand Sons.
Gallery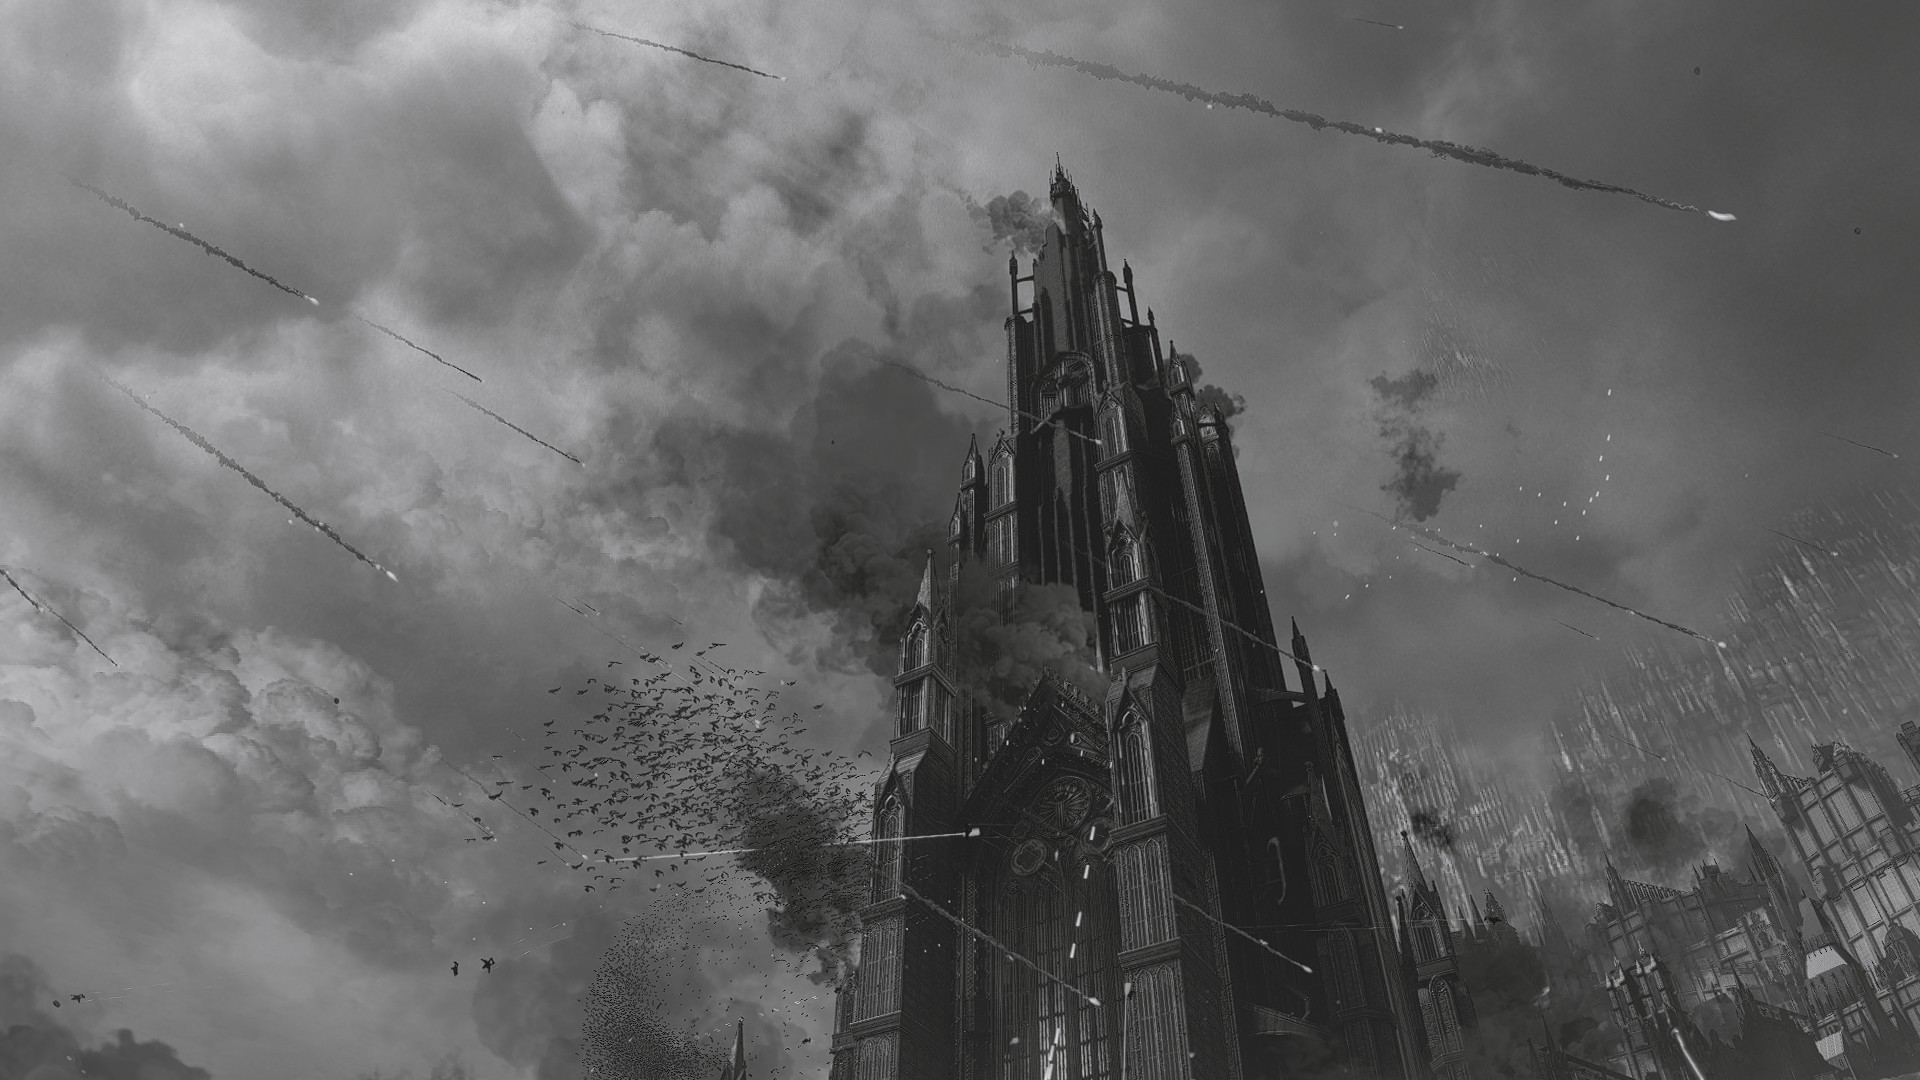
Operation
31 photos
Decapitation
Avarax
A strike to cut the head off a Tyranid swarm — the Hive Tyrant at the end of the hunt.
Gallery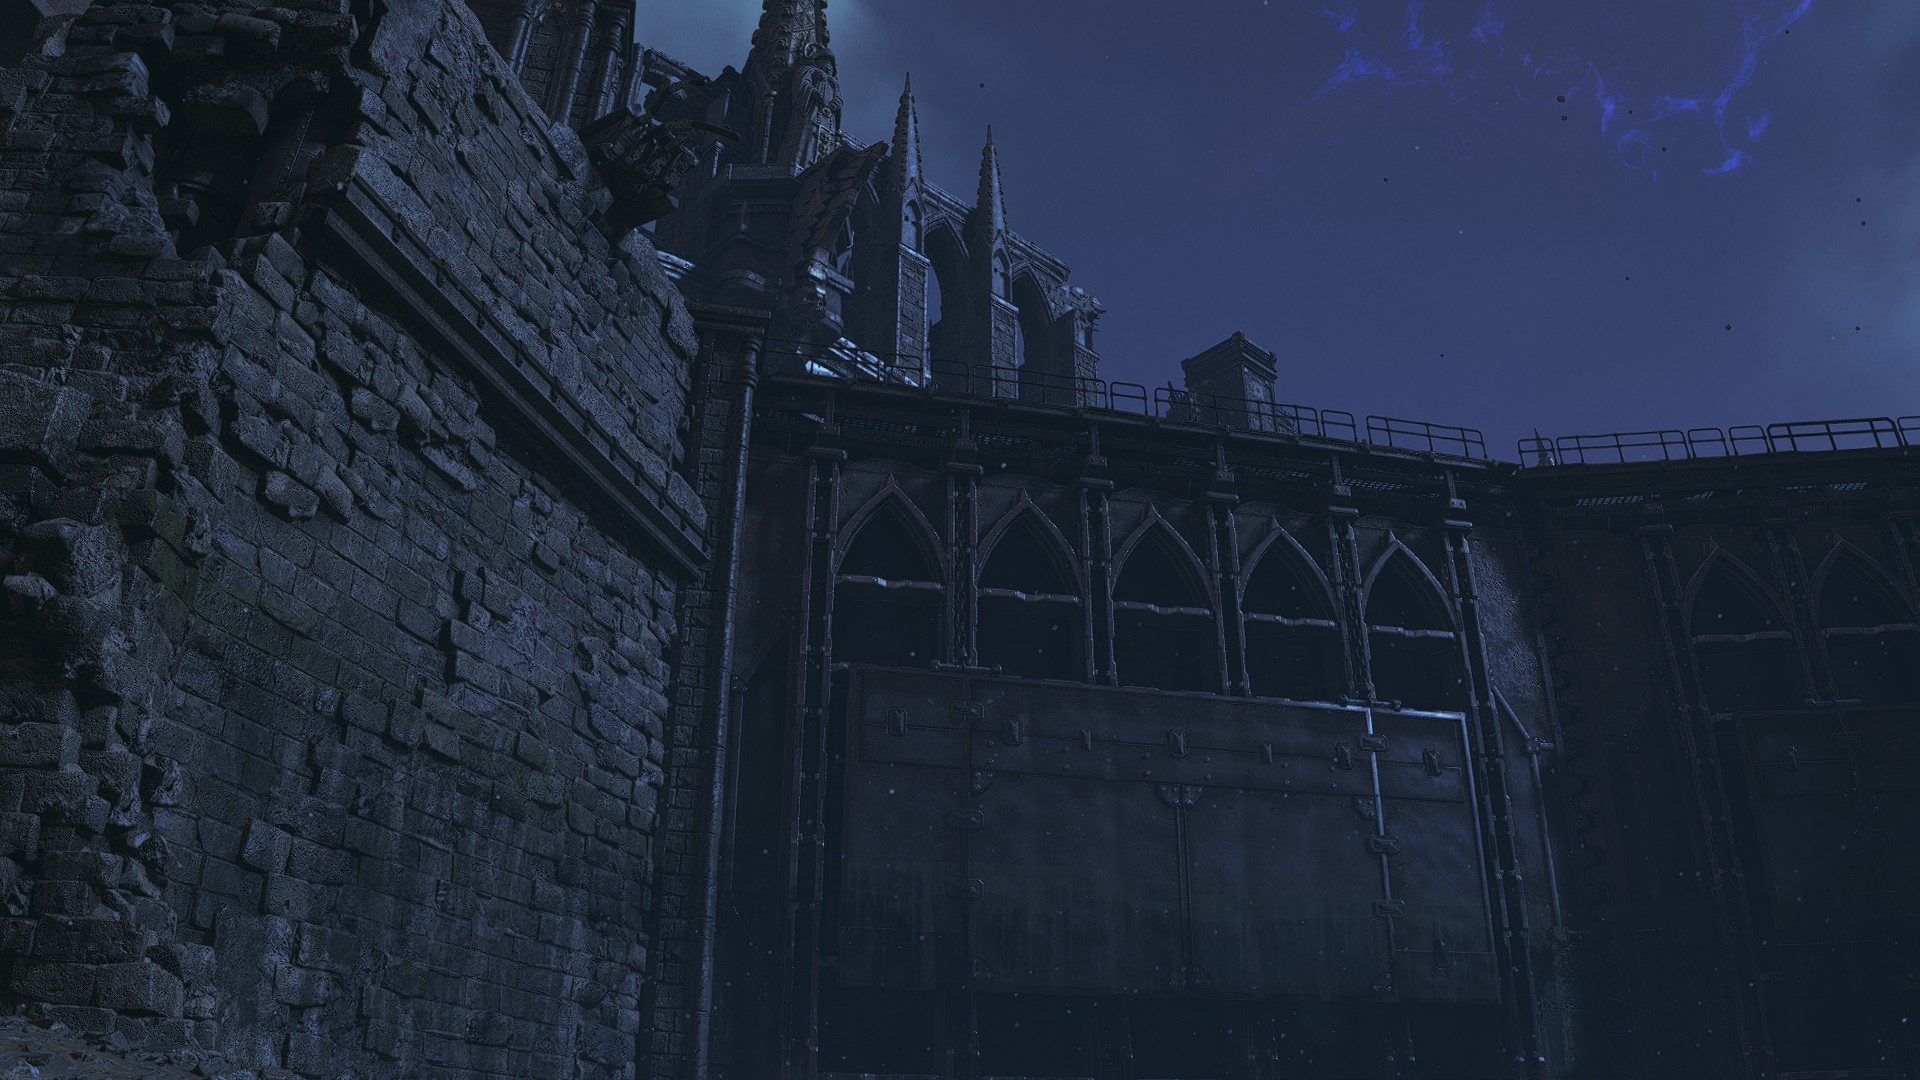
Operation
24 photos
Obelisk
Demerium · Ancient battlefield
A tomb-world operation around the obelisks tied to the Aurora device, under constant Thousand Sons pressure.
Gallery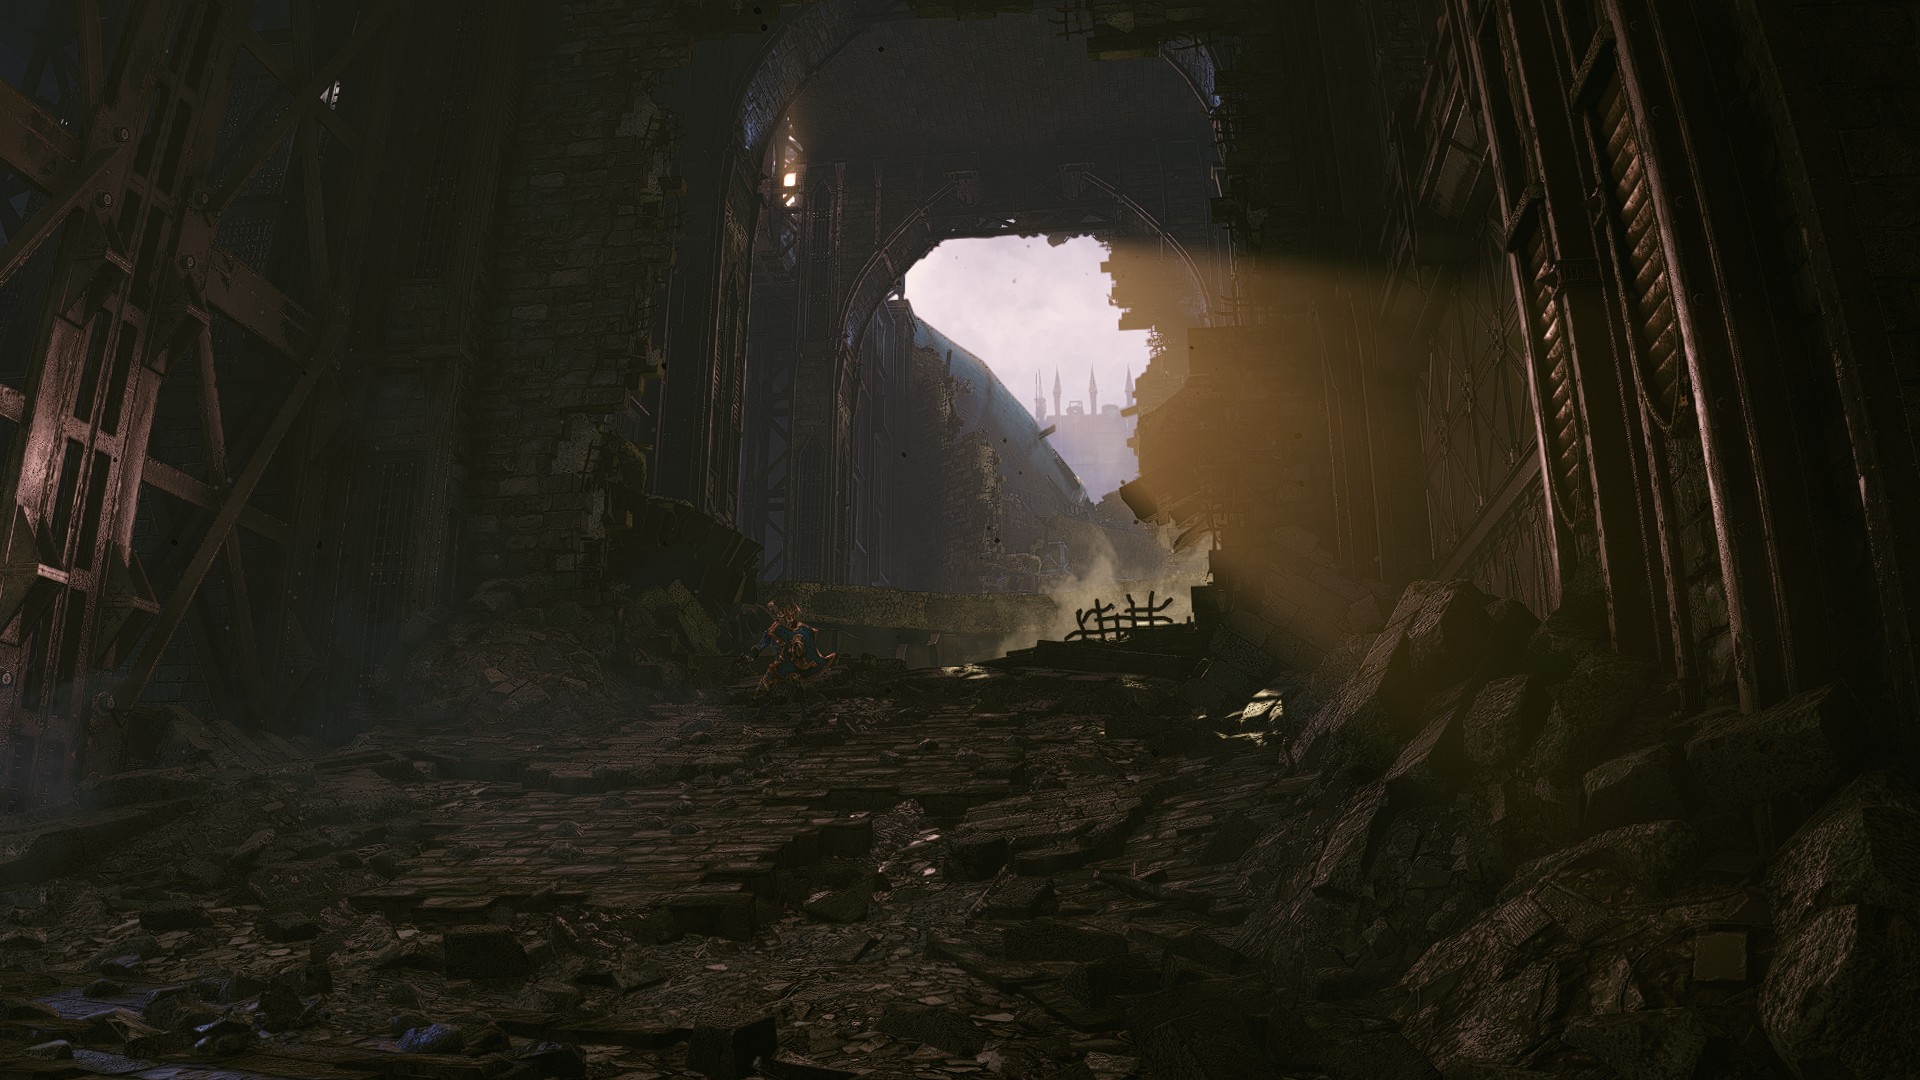
Operation
13 photos
Vortex
Avarax · Astropathic Relay
A return to the Astropathic Relay, with the Mutalith Vortex Beast as the thing the squad is sent to stop.
Gallery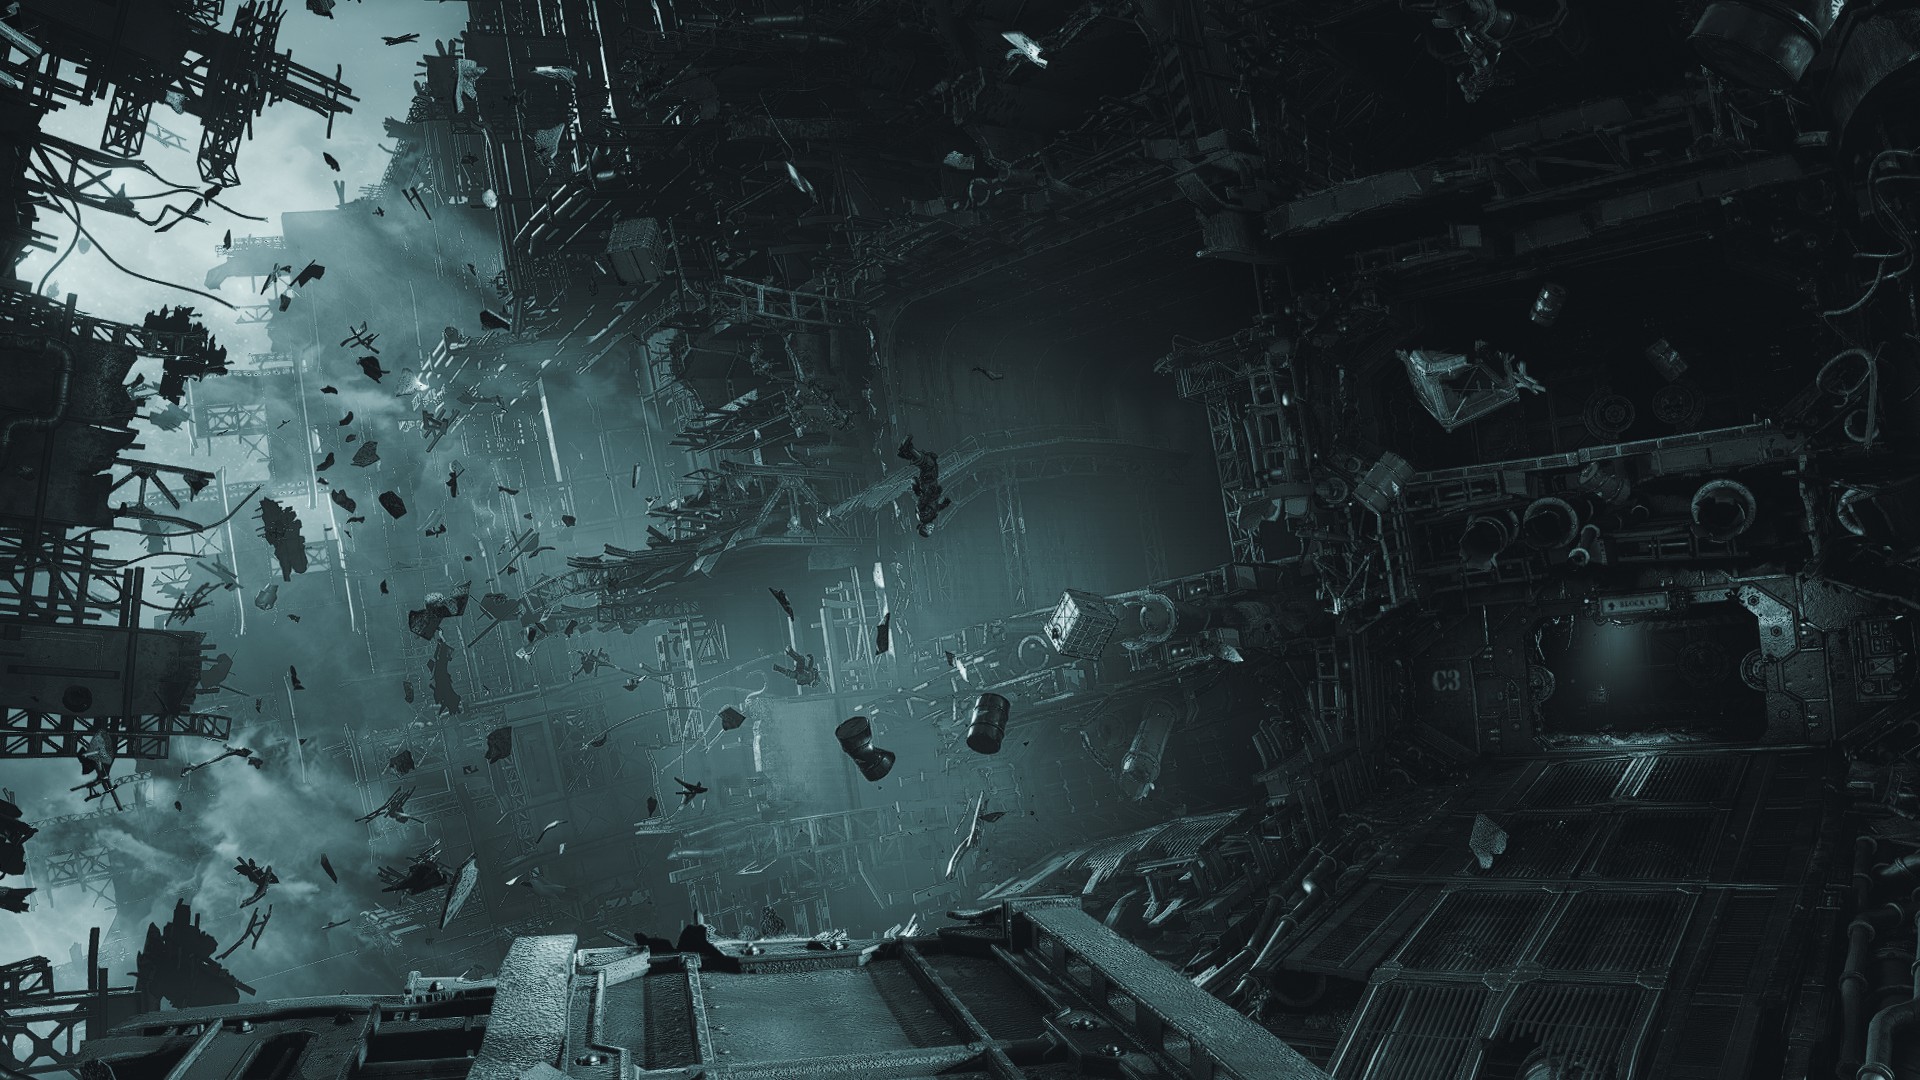
Operation
23 photos
Reclamation
Orbit above Avarax
A shipboard reclaim of a damaged Imperial cruiser — tight corridors, shifting objectives, and a hull full of Tyranids.
Gallery